Facebook is going to debut its ‘missed call’ ads in India, in a bid to connect advertisers with a large untapped market of feature phone users in the country.
The feature allows users to press a button to place a call to relevant advertisers and then disconnect it. The user then receives a call back playing a pre-recorded message, detailing offers and discounts by the advertiser. These ads will allow users to request content, such as game scores, music or celebrity news, by clicking on a mobile advertisment and placing a missed call company. This way people can recieve branded content without using airtime or data.
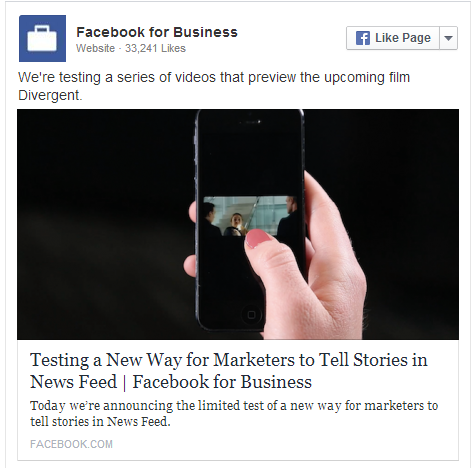
The missed call unit was part of an announcement Facebook put out Wednesday touting its expanding reach in markets outside of North America and Europe. Often called “the next billion,” the market includes areas in which feature phones are still the predominant mode of mobile communication.
It will be interesting to see if the ‘missed call’ ad makes its way to our neck of the woods.
With nearly two decades in the industry, Belle Strategies’ Owner Rachel Creveling is a seasoned business consultant who specializes in comprehensive company growth. By integrating strategic support and workflow optimizations across operations, marketing, sales, IT and HR, she creates custom solutions to position clients for optimal results. She excels at incorporating trending tech and studied Strategies for Accountable AI at Wharton.